Video Messaging in Rails
We've been working with our friends at the Chins Up Foundation to develop an innovative application connecting youth with college athletes through a pen-pal mentorship program. Recently, we were requested to add video messaging to the application. Here I'll take you step-by-step through the process of adding video messaging to your Rails 4.2.6 messaging application and get it up and running on Heroku.
Paperclip
Paperclip is an easy file management system for Rails apps. We will use it to store our audio/video files as attachments. Paperclip uses the AWS SDK gem to store the files on an AWS server. Paperclip-av-transcoder is a great audio/video transcoder for Paperclip that will convert your media files into a format that will work for Paperclip. Add the following gems to your Gemfile and run bundle on the command line:
gem 'paperclip', '~> 5.1.0'
gem 'aws-sdk', '~> 2.6'
gem 'paperclip-av-transcoder'
FFmpeg
We're also going to need to add FFmpeg to our local environment using Homebrew:
brew install ffmpeg --with-fdk-aac --with-ffplay --with-freetype --with-frei0r --with-libass --with-libvo-aacenc --with-libvorbis --with-libvpx --with-opencore-amr --with-openjpeg --with-opus --with-rtmpdump --with-schroedinger --with-speex --with-theora --with-tools
RecordRTC
RecordRTC is an entirely client-side JS library that can be used to record WebRTC audio/video media streams. To use, simply copy the recordrtc.js and whammy.js files into your vendor/assets/javascripts directory. Add them to your config/application.rb file:
config.assets.paths << Rails.root.join('vendor', 'assets', 'components')
Also require them in your assets/javascripts/application.js:
//= require recordrtc
//= require whammy
Add Attachment Video to Messages
rails g migration add_attachment_video_to_messages video:attachment
rake db:migrate
Now you should have 4 additional fields inside of your messages table if you check your schema.
Messages Model
Next lets add a little code to our models/message.rb to let our app know to expect and how to store video files.
has_attached_file :video,
                  styles: {
                    medium: {
                      geometry: '640x480',
                      format: 'mp4'
                    },
                    thumb: {
                      geometry: '160x120',
                      format: 'jpg',
                      time: 10
                    }
                  }, processors: [:transcoder]

validates_attachment_content_type :video, content_type: %r{\Avideo\/.*\z}
validates :message_not_blank_when_submitted

def message_not_blank_when_submitted
  if body.empty? && !video?
    errors.add(:body, 'must not be blank upon submit')
  end
end
Messages Controller
Next we need to update our controller to expect and route requests appropriately. In your controllers/messages_controller.rb file be sure to add :video to your accepted message_params.
def message_params
  params.require(:message).permit(:body, :video)
end
Messages Views
Last before we get into fun JavaScript land, we need to update some views to render these beautiful videos. First, lets create a space for our video to play once its created:
views/messages/show.html.haml
.body
  = message.body
- if message.video.exists?
    %video{controls: '', src: message.video }
Next, lets update our messages form to include videos!
views/messages/_form.html.haml
#video-message
#players{style: 'text-align: center;'}
%video.recorder{autoplay: '', loop: '', muted: '', height: '480', width: '640'}
%audio.recorder{autoplay: '', loop: '', muted: ''}
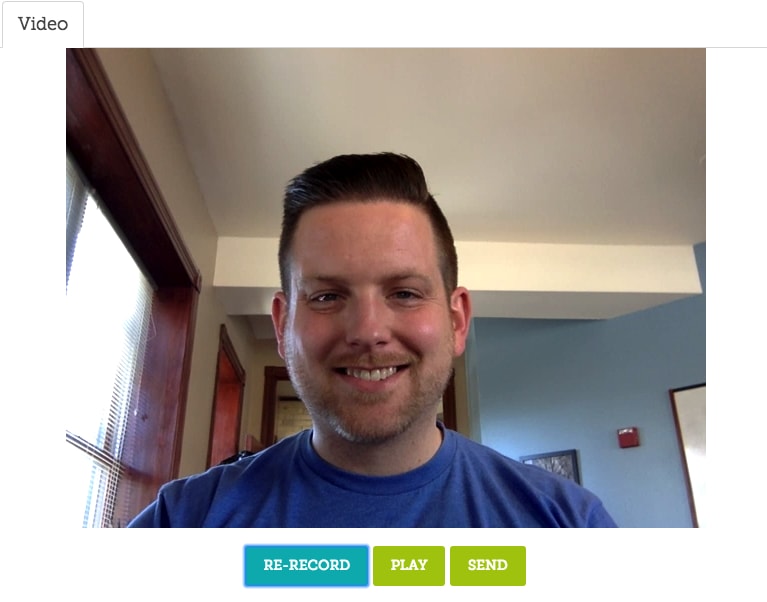
#buttons.actions{style: 'text-align: center; padding: 1em;'}
%button#record_button{type: 'button', class: 'save-button'} Start Recording
%button#play_button{type: 'button', class: 'send-button'} Play
-if @can_submit_message
%button#upload_button{type: 'button', class: 'send-button', title: "Are you sure you're ready to send this message?", data: {confirm: "You won't be able to edit anymore."}} Send
Video JS
Now that we have a Rails app set up, let's move on to work on the actual video! First we need to create assets/javascripts/video.js.
This functionality does not currently work in Safari and Internet Explorer. So, you'll want to suggest your user switches browsers.
Let's do some setup and set the video options:
var stream;
var audio_recorder = null;
var video_recorder = null;
var recording = false;
var playing = false;
var formData = null;

var videoOptions = {
  type: "video",
  video: {
    width: 640,
    height: 480
  },
  canvas: {
    width: 640,
    height: 480
  }
};

var constraints = { audio: true, video: { mandatory: {}, optional: []} }
The method for accessing the computer (or other device)'s camera and microphone is different depending on the type and version of the browser. The following code selects the appropriate method for accessing the user's camera and audio and passes in the constraints.
if (navigator.mediaDevices == undefined) {
  navigator.mediaDevices = {};
}

if (navigator.mediaDevices.getUserMedia === undefined) {
  navigator.mediaDevices.getUserMedia = function(constraints) {
    var getUserMedia = navigator.webkitGetUserMedia || navigator.mozGetUserMedia;

    if (!getUserMedia) {
      return Promise.reject(new Error('getUserMedia is not implemented in this browser'));
    }

    return new Promise(function(resolve, reject) {
      getUserMedia.call(navigator, constraints, resolve, reject);
    });
  }
}
Now that we have the appropriate method for accessing the camera and microphone, let's record the video and audio (and handle errors)!
navigator.mediaDevices.getUserMedia(constraints).then(function(pStream) {

  stream = pStream;
  // setup video
  video = $("video.recorder")[0];

  video.src = window.URL.createObjectURL(stream);
  video.width = 640;
  video.height = 480;
  // init recorders
  audio_recorder = RecordRTC(stream, { type: "audio", bufferSize: 16384 });
  video_recorder = RecordRTC(stream, videoOptions);

  // update UI
  $("#record_button").show();
}).catch(function(err) {
  console.log(err.name + ': ' + err.message);
});

$("#record_button").click(function(){
  if (recording) {
    stopRecording();
  } else {
    pstream = null;
    stream = null;
    startRecording();
  }
});

var startRecording = function() {
  // record the audio and video
  video_recorder.startRecording();
  audio_recorder.startRecording();

  // update the UI
  $("#play_button").hide();
  $("#upload_button").hide();
  $("video.recorder").show();
  $("#video-player").remove();
  $("#audio-player").remove();
  $("#record_button").text("Stop recording");

  // toggle boolean
  recording = true;
}
We are now recording audio and video! Now we want to stop recording, display the video we recorded and prepare it for uploading.
var stopRecording = function() {
  // stop recorders
  audio_recorder.stopRecording();
  video_recorder.stopRecording();

  // set form data
  formData = new FormData();

  var audio_blob = [];
  var video_blob = [];
  function getAudio() {
    audio_blob = audio_recorder.getBlob();
    formData.append("audio", audio_blob);
  }

  function getVideo() {
    video_blob = video_recorder.getBlob();
    formData.append("video", video_blob);
  }
  var audio_player
  var video_player

  function setPlayers() {
    getAudio();
    getVideo();

    // add players
    video_player = document.createElement("video");
    video_player.id = "video-player";
    video_player.width = $('video.recorder').width();
    video_player.height = $('video.recorder').height();
    setTimeout(function() {
      video_recorder.getDataURL(function(dataURL) {
        video_player.src = dataURL;
      });
    }, 500);

    if ($('#video-player').length) {
      $('#video-player').remove();
    }
    $("#players").append(video_player);

    audio_player = document.createElement("audio");
    audio_player.id = "audio-player";
    setTimeout(function() {
      audio_recorder.getDataURL(function(dataURL) {
        audio_player.src = dataURL;
      });
    }, 500);
    if ($('#audio-player').length) {
      $('#audio-player').remove();
    }
    $("#players").append(audio_player);

  }
  setPlayers()

  // update UI
  $("video.recorder").hide();
  $("#play_button").show();
  $("#upload_button").show();
  $("#record_button").text("Re-Record")

  // toggle boolean
  recording = false;
}
At this point, you should be able to record audio and video and display the video player. Now we need to be able to interact with the video player:
$("#play_button").click(function(){
  if (playing) {
    stopPlayback();
  } else {
    startPlayback();
  }
});

var stopPlayback = function() {
  video = $("#video-player")[0];
  video.pause();
  video.currentTime = 0;
  audio = $("#audio-player")[0];
  audio.pause();
  audio.currentTime = 0;

  $("#play_button").text("Play");

  // toggle boolean
  playing = false;
}

var startPlayback = function() {
  video = $("#video-player")[0];
  video.play();
  audio = $("#audio-player")[0];
  audio.play();
  $("#video-player").bind("ended", stopPlayback);

  $("#play_button").text("Stop");

  // toggle boolean
  playing = true;
}
The last thing we need to do with our video is upload it to our Rails server:
$("#upload_button").click(function(){
  var audio_blob = audio_recorder.getBlob();
  var video_blob = video_recorder.getBlob();
  var data = new FormData();
  data.append('message[video]', video_recorder.getBlob(), (new Date()).getTime() + '.webm');
  data.append('message[audio]', audio_recorder.getBlob(), (new Date()).getTime() + '.webm');
  data.append('commit', 'Send');

  var oReq = new XMLHttpRequest();
  oReq.open('PATCH', $('.draft-form').attr('action'));
  oReq.setRequestHeader('X-CSRF-Token', $('meta[name="csrf-token"]').attr('content'))
  oReq.send(data);
  oReq.onload = function(oEvent) {
    if (oReq.status == 200) {
      console.log('Uploaded');
      location.reload();
    } else {
      console.log('Error ' + oReq.status + ' occurred uploading your file.');
      location.reload();
    }
  }
});
Heroku
Now that we have our video messages working great locally, let's push it up to our Heroku instance so our users can use it! Assuming you've already created a Heroku instance with a Ruby buildpack, when you push your new code up to Heroku you will notice that you are unable to upload your video messages to the server. This is because you need to add the Ffmpeg buildpack! Heroku recently changed how to use multiple buildpacks, so make sure you use this method to ensure it works (until Heroku changes it again :-)):
First, check what buildpacks you are currently using. You should see heroku/ruby.
heroku buildpacks -r <app_name>
To add the ffmpeg buildpack, simply type:
heroku buildpacks:add https://github.com/znupy/heroku-buildpack-ffmpeg-x264-ogg -r <app_name>
In order to fully implement the new buildpack, you will need to deploy your code to Heroku. Now your video messaging should work like a charm! I hope this tutorial was easy to follow and informative. I look forward to your feedback!